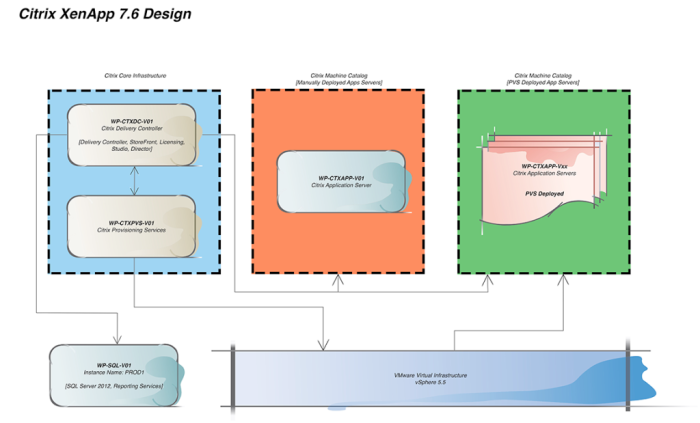
This is part 1 in the Citrix XenApp 7.6 installation and configuration guide. In this article we go through the steps required to prepare the SQL server for the installation of the Citrix Site.
Quick Links
Here are the links to each of the articles that make up this series:
- Citrix XenApp 7.6 Install Guide – Introduction
- Citrix XenApp 7.6 Install Guide – Part 1: Prepare SQL Server
- Citrix XenApp 7.6 Install Guide – Part 2: Delivery Controller, StoreFront, License Server Installation
- Citrix XenApp 7.6 Install Guide – Part 3: Create & Configure a new Citrix Site
- Citrix XenApp 7.6 Install Guide – Part 4: Install VDA on Citrix Application Server
- Citrix XenApp 7.6 Install Guide – Part 5: Configure VMware vCenter Integration
- Citrix XenApp 7.6 Install Guide – Part 6: Create Machine Catalog
- Citrix XenApp 7.6 Install Guide – Part 7: Create Delivery Group
- Citrix XenApp 7.6 Install Guide – Part 8: Create Citrix Store
Step-by-Step Guide
Prior to creating a new Citrix XenApp 7.6 site, we need to configure the SQL Server. To do this, complete these steps:
1. Log into the SQL Server with administrator privileges and launch SQL Management Studio
Note: This documentation assumes you already have a SQL instance installed on a sepeate server
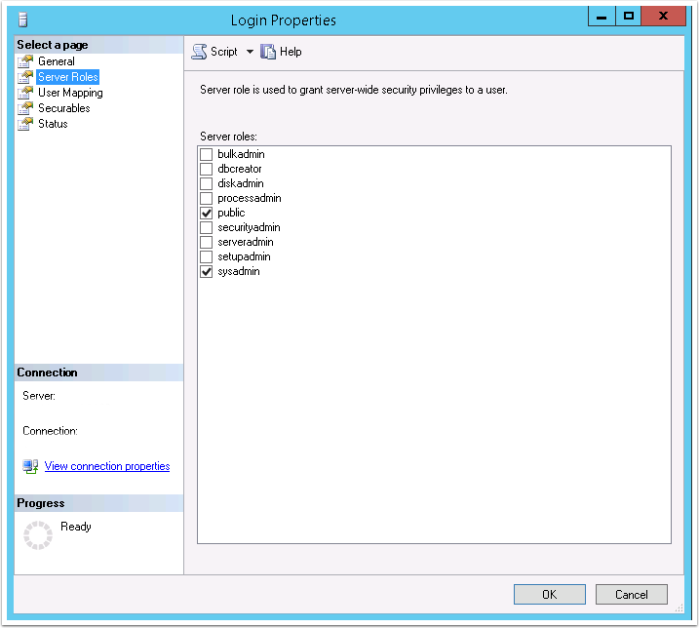
2. To create a new Citrix Site, we require a domain account that has the sysadmin Server Role on the SQL instance (as per the screenshot below)
To do this, follow these steps:
- From SQL Management Studio, expand the Security folder
- Right click on Logins and select New Login
- Create a SQL account using an existing Domain Account
- Click on Server Roles and assign the user the sysadmin role (as per the screenshot)
- Click OK to save the changes
- Use this account in the Create New Citrix Site wizard
Note: You must use a domain account to configure the SQL database when creating a new SQL site (i.e. SQL Authentication is not acceptable)
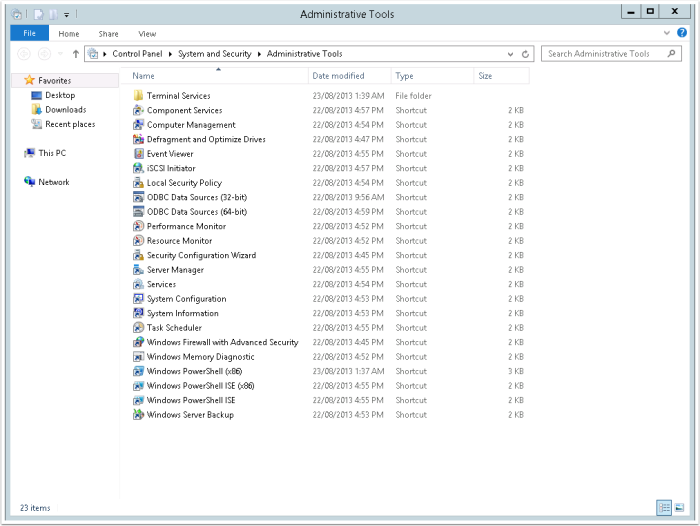
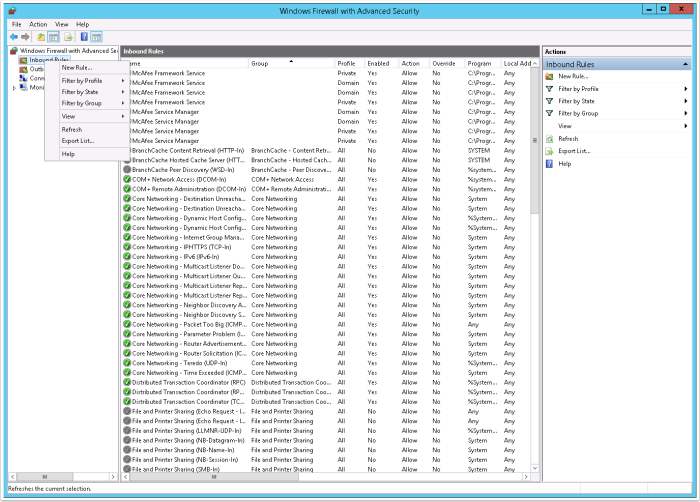
3. If you have the Windows Firewall enabled, then you will need to configure it to allow the XenApp to acccess it. To do this: Administrative Tools >> Windows Firewall with Advanced Security
4. Right click Inbound Rules and select New Rule
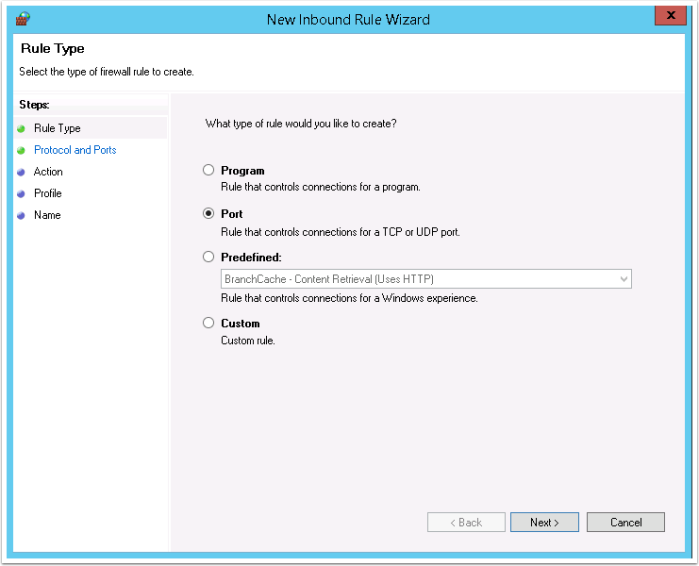
5. Select Port and click Next
6. From the Protocol and Ports screen, complete the following:
- Select TCP
- Select Specific Local Ports
- Enter 1433 (default SQL port)
- Click Next

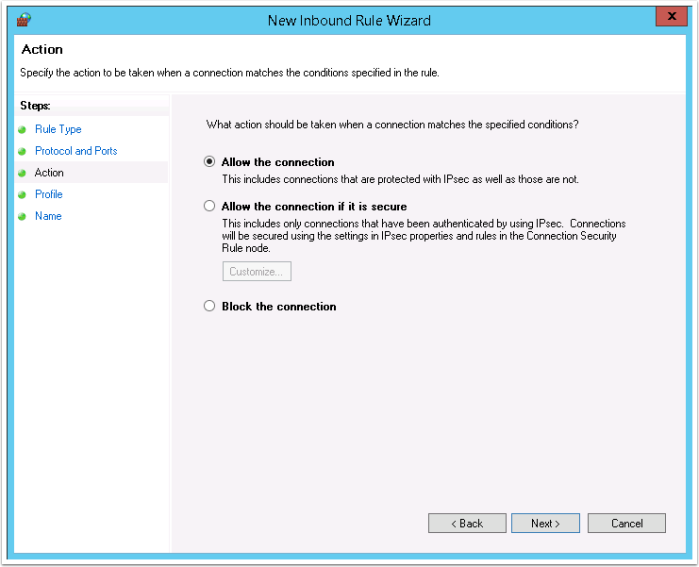
7. Select Allow the Connection and then click Next
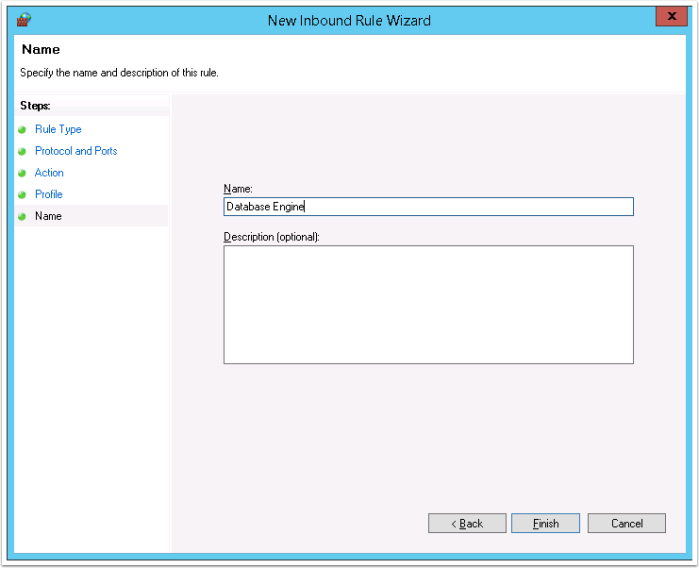
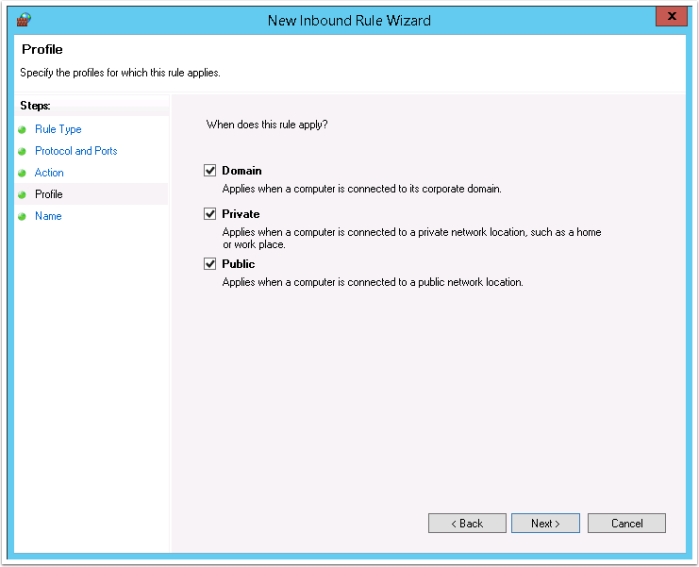
8. From the Profile screen, ensure all options are selected and then click Next
9. Enter a name for the rule and then click Finish to create the rule